Blog Post
Make Your Own Jeans | New Pattern, Helpful Tools & Tips
Jeans are such a wardrobe essential – the weekend uniform &, for many, the daily garment of choice. Yet many people who sew steer clear from making their own pair. Maybe it’s the metal rivets and zipper that are daunting or the idea of all that top-stitching. But making your own jeans is very rewarding if you aren’t afraid to jump in and learn some new skills. I’ll even share some tools and tips to help you get professional results.

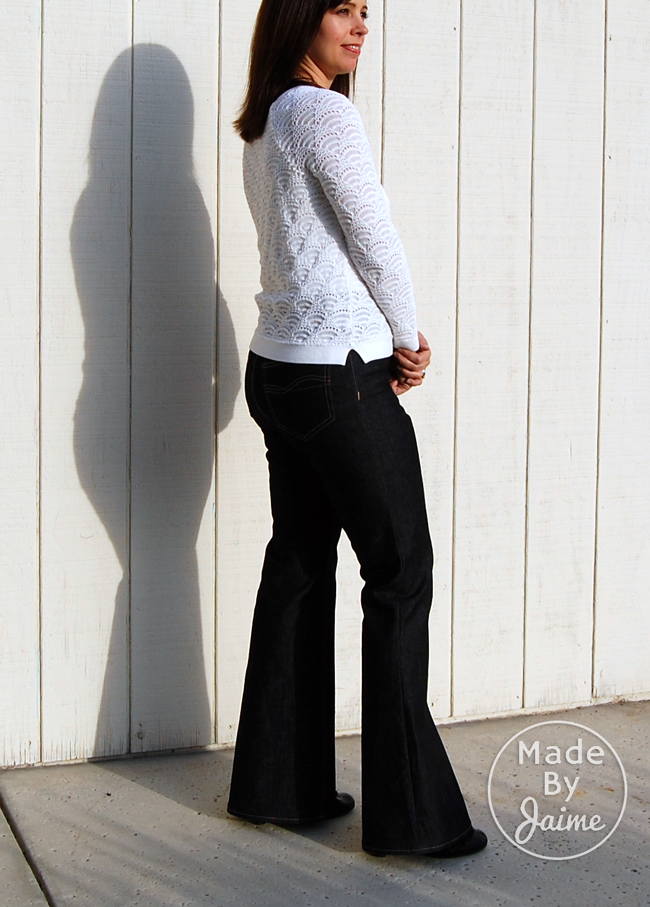
The last two weeks I’ve been helping pattern designer Lauren Dahl of Baste+Gather test her new pattern, the Birkin Flares. (FYI: Get $2 off this pattern with code ‘birkinrelease’ and 50% off all Baste+Gather Patterns now through December 13th, 2015)
“Inspired by 1970s fashion icon Jane Birkin, the Birkin flares are a high-waisted, flare-leg, classic jean. These jeans feature a universally flattering high waist (but not too high) with classic five-pocket styling, a curved yoke and a straight-cut waistband. The Birkin Flares are equally perfect with your comfiest tee or a flowy, silk blouse, and the inseam can be adjusted in multiple ways to lengthen/shorten or create a deeper hem. In waist sizes 24-35, the sizing closely mimics that found in ready-to-wear, designer jeans.” (Pattern Description)
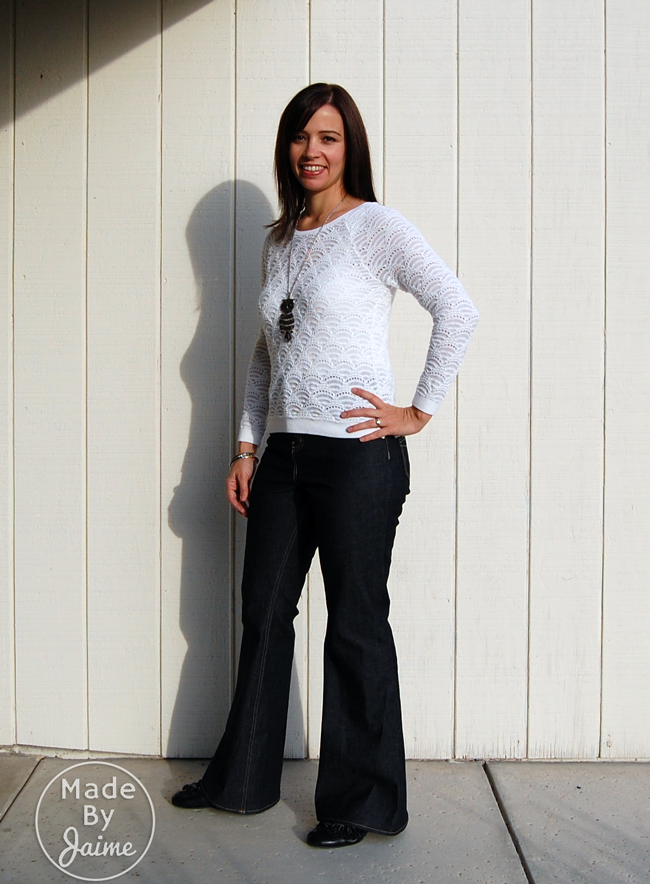
The pattern is very well drafted and I was super pleased with the fit with only my usual pattern alterations. This is a PDF pattern so if you’ve never worked with one before, you can click here or here to get some tips on how to download, print and put the pattern together.
TheFabricMarket.com has several stretch denims available, but I chose the 13 oz Stretch Denim – Very Dark (now limited in quantity) since it fit the perimeters of the pattern’s fabric recommendations.

I grabbed a new tool for this project, recommended by the Birkin Flares Pattern – a Clapper. I cannot recommend this enough. I didn’t go to fashion design school, but I did study a little bit of clothing construction and I had never encountered a tailor’s clapper before! It’s basically a piece of pine or oak finished on the sides and possibly the top…
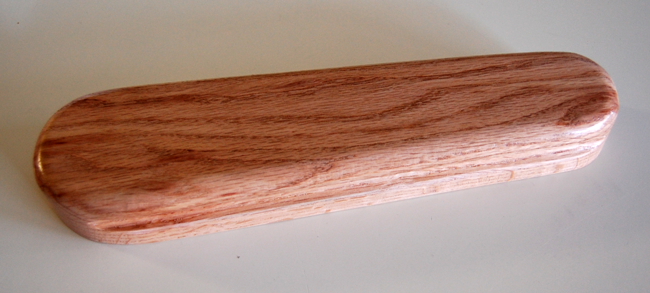
The grooves in the side help with maneuvering the clapper and putting pressure on your seams…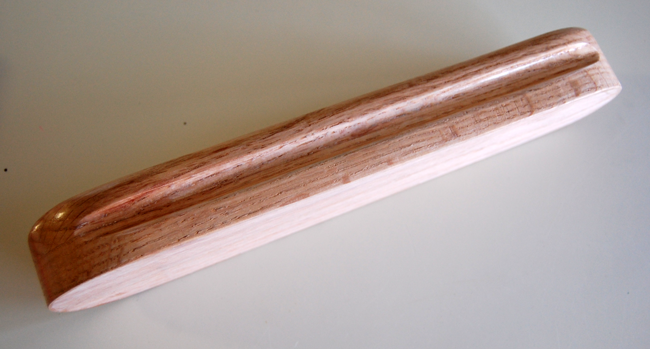
And the bottom (or sometimes both bottom and top) are left bare.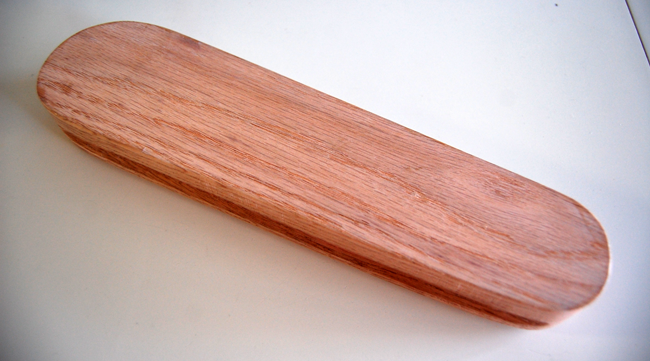
The wood absorbs the moisture from fabric after you run a steam iron over it and leaves your seam crisp and flat without having to leave the iron on the fabric too long, risking burning. You can watch the video below to learn more about how a Tailor’s Clapper works. Believe me, they are magical!
For help with rivets and buttons, Lauren of Baste+Gather has put together a video on how to install them:
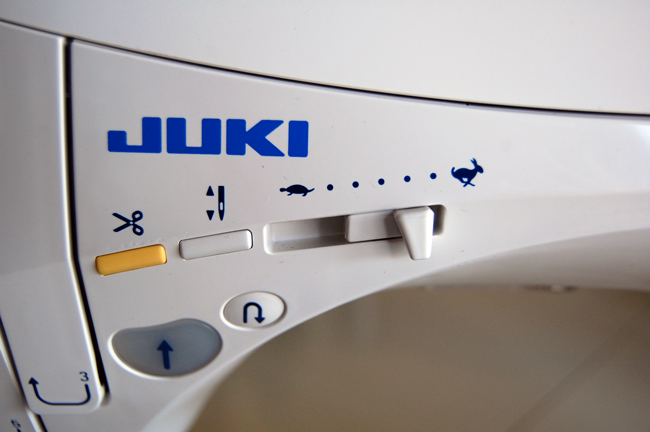
A simple & quick tip that helped me tons with the top stiching is SEW SLOWLY. I used the speed control feature on my sewing machine. This is pretty common on new machines and lower and higher ends, but you can always just use a light touch on your foot pedal to go slow and steady.
Lastly, when I posted about the jeans earlier this week on facebook, someone asked how I did my pocket design so I thought I’d share my process with you.

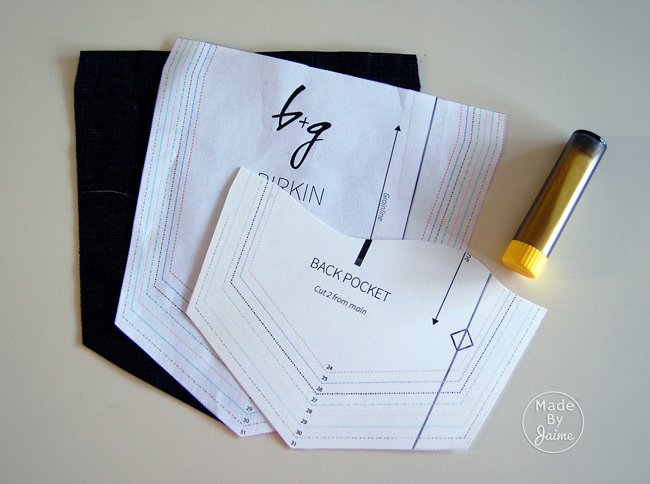
You certainly do not have to decorate your back pockets when making your own jeans, but it is your big chance to put your signature on them! I started by googling “Jeans Pocket Designs” and found a design inspiration. I don’t trust my freehand drawing skills too much, so I gathered some supplies:
- My cut pocket
- My Pattern Piece
- A copy of my pattern piece on cardstock
- A choco-liner (any chalk marking tool will work)
To mimic my inspiration pocket, I found the halfway point on the cardstock pocket pattern piece and moved a smidge higher. I drew a line horizontally across and then drew a dip below the line, meeting in the middle and then up above the line landing back at the mid point on the other side. Then I cut on the squiggly line, lined up the cardstock pattern on my denim pocket and marked the line.
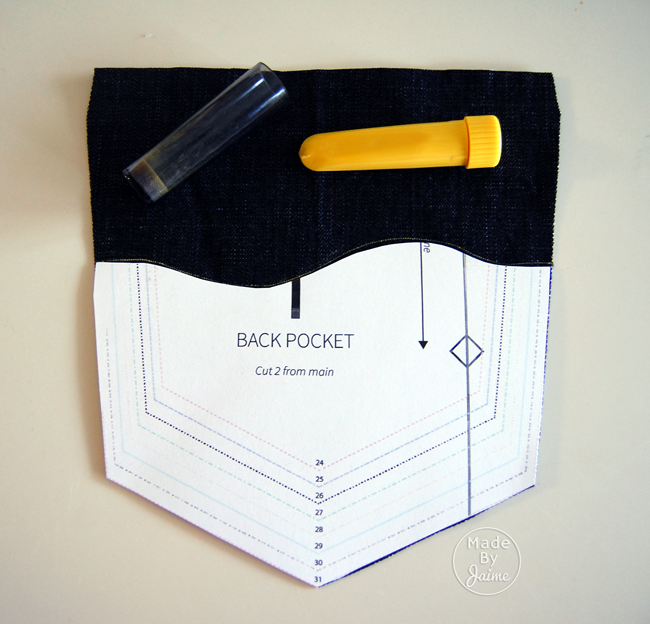

Using my machine’s 1/4″ foot, I sewed with topstitching thread on the chalk line, then 1/4″ away from it. I decided that was a little boring, so I did a third line that halfway echoed the lines already stitched, crossed them and met 1/4″ away from the bottom line. You could literally stitch anything, bedazzle them, use different color threads, and more!
I hope these tips have given you some inspiration and encouragement to try making your own jeans. With TheFabricMarket.com’s great prices, there’s not much to lose and you may learn a lot in the process! I’ll leave you with a few links to some other Jeans PDF Patterns I’m aware of. And don’t forget – if you make something with our fabrics, share it with us on our facebook page!
- Burdastyle Men’s Jeans
- Jalie Women’s Stretch Jeans
- Named Jamie Jeans
- Ginger Skinny Jeans
- Itch-to-Stitch Liana Stretch Jeans (boot cut, straight & skinny)
- Angela Wolf Angel Bootcut Jean
- Blaverry Kids/Teen Bobbi Boyfriend Jeans
- Peek A Boo Kids Skinny Jeans
- Patterns for Pirates Captain Comfort Jeans (kids, elastic waist)
Related Posts

How is your summer coming along? Hopefully you have a good stash of lemonade,
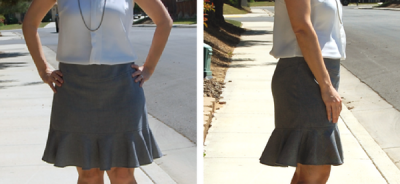
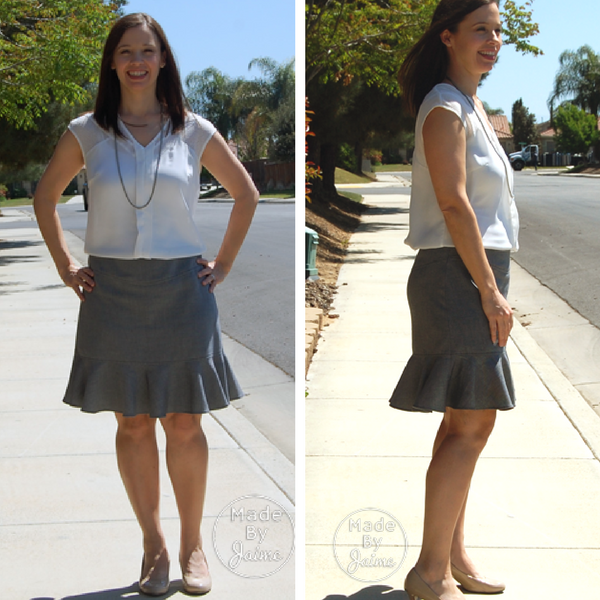
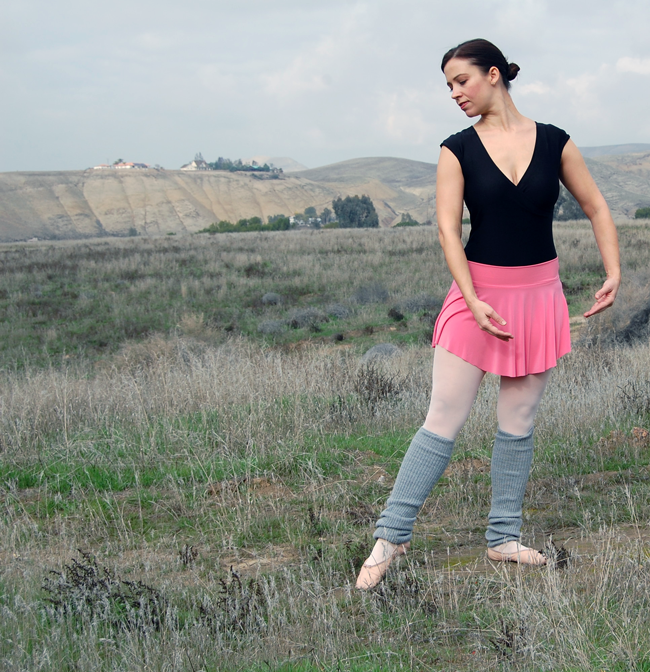
I’m back again today with the third and final version of the Basic Skirt! If
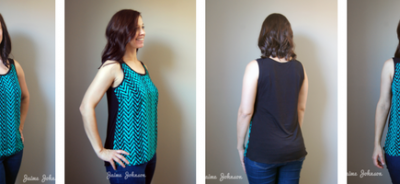
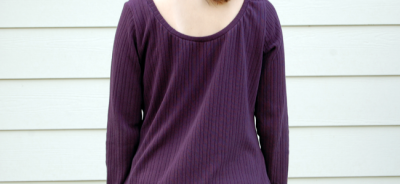
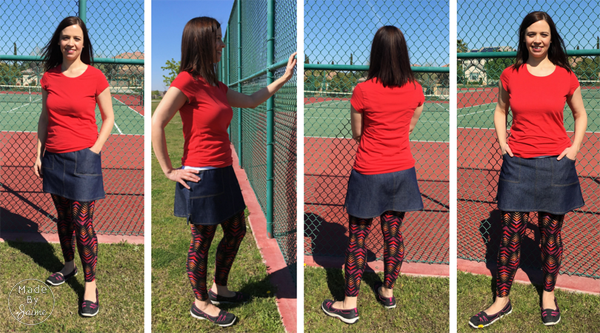
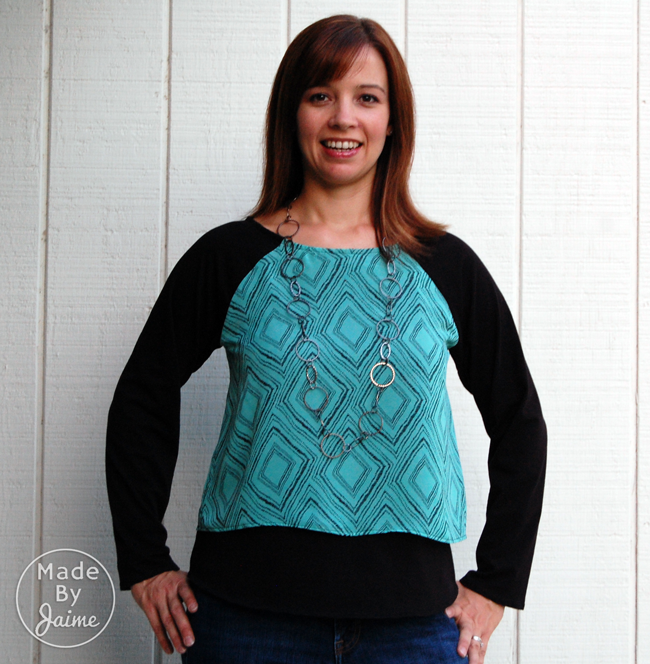
Let’s all be honest – most of our modern closets are full of knit

A few weeks back I shared my self-drafted skirt as the start of my journey through Cal

Have you ever tried your hand at pattern drafting? As 2017 ended, a few
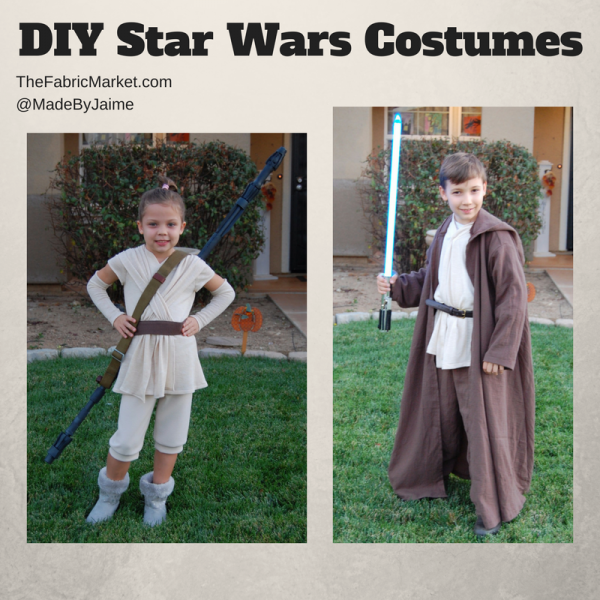
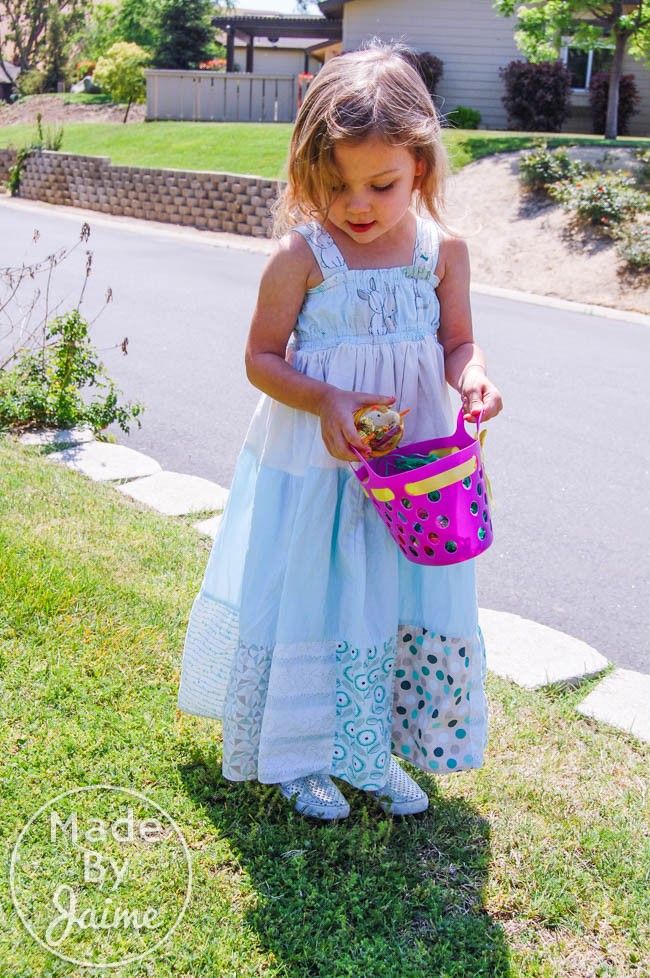
Halloween is one of my favorite holidays to sew for. There is whimsy, imagination
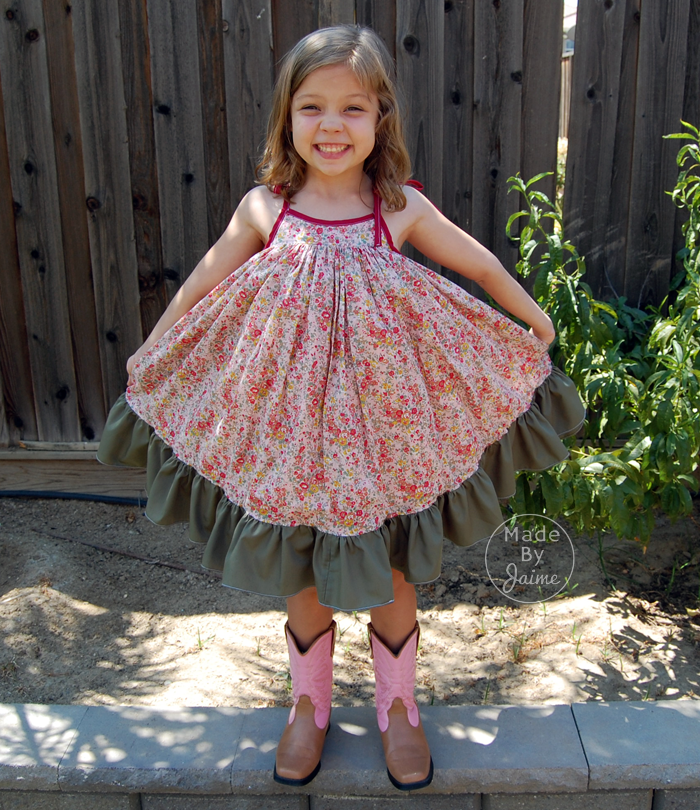
It’s not a secret that I love sewing with The Fabric Market’s Poly Cotton

If you live locally, you know that F&M fabrics has the best selection and
Did you make any Halloween (or other) costumes this year with fabrics from TheFabricMarket.com
Hi all! I was invited last month to help another designer celebrate her anniversary,
Hi this is Jaime again from MadeByJaime. A few weeks back, Caitlin posted this


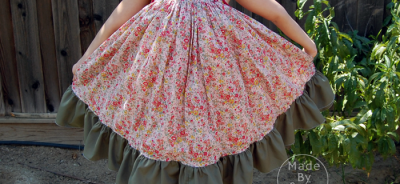
Last week I was given the opportunity to test a new pattern by Little
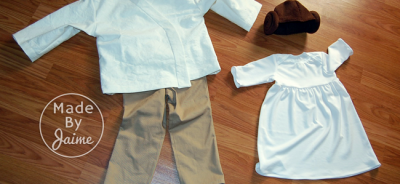
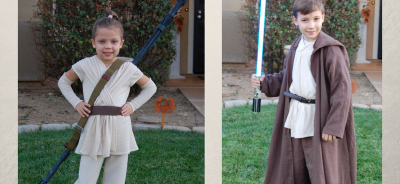
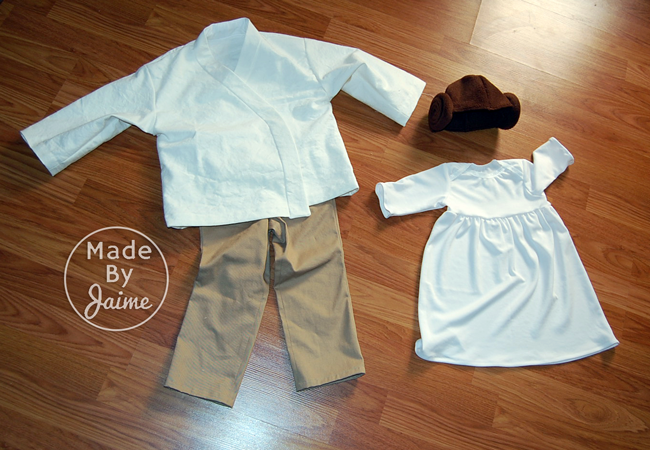
For all the Star Wars fans out there, it’s Star Wars day! May the Fourth


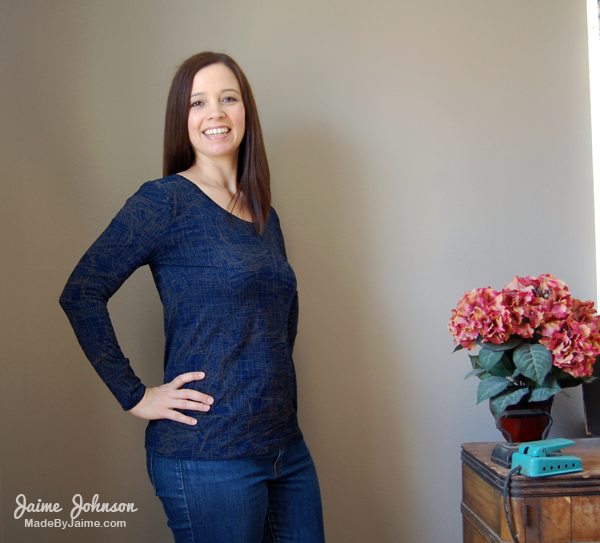
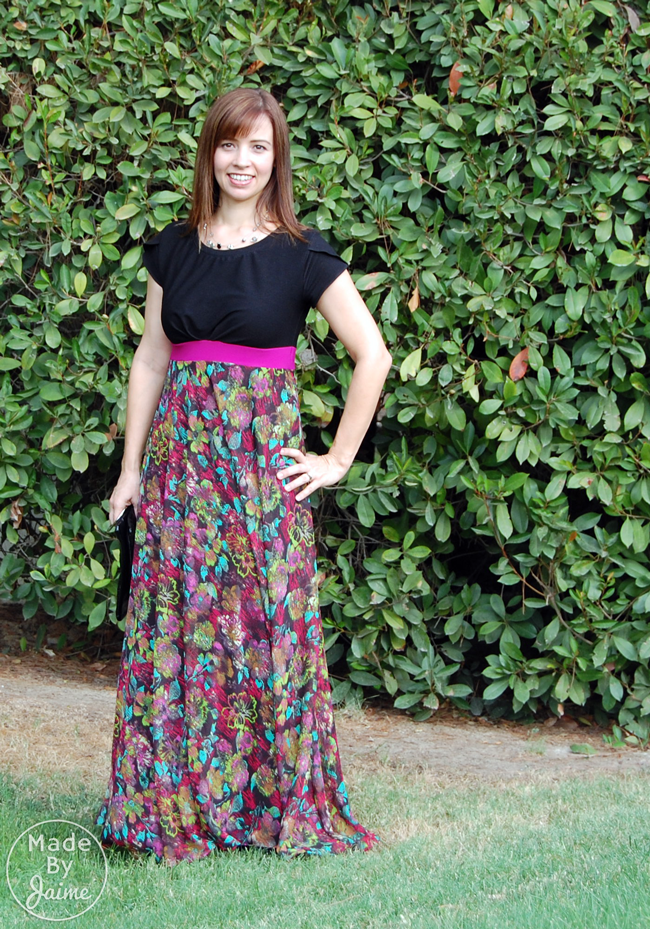
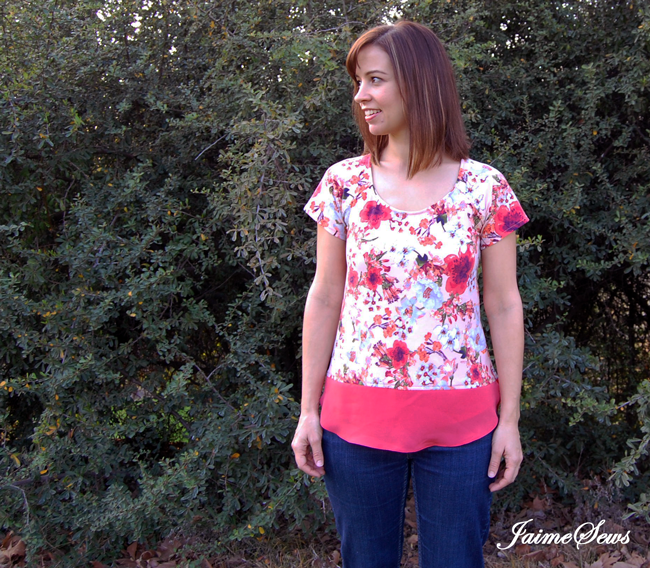
If you’ve been out shopping lately, you’ve noticed the trend of mixing knits and wovens.
Knit fabrics are sometimes intimidating for those new to sewing garments or new to